Back to portfolio
EN/NL
CDT Minor Showcase 2024 / 2025

From aviary problem
to working prototype.

Research, electronics, firmware, housing, branding and UI design for an offline automation system for bird breeders.

Explore the process

A working prototype, built from the problem upward.

BudgieBase started with a promise I made to my father: build an automation system for his aviary that he could actually trust and understand. During the Creative Design & Technology Minor, that promise became a full product prototype.

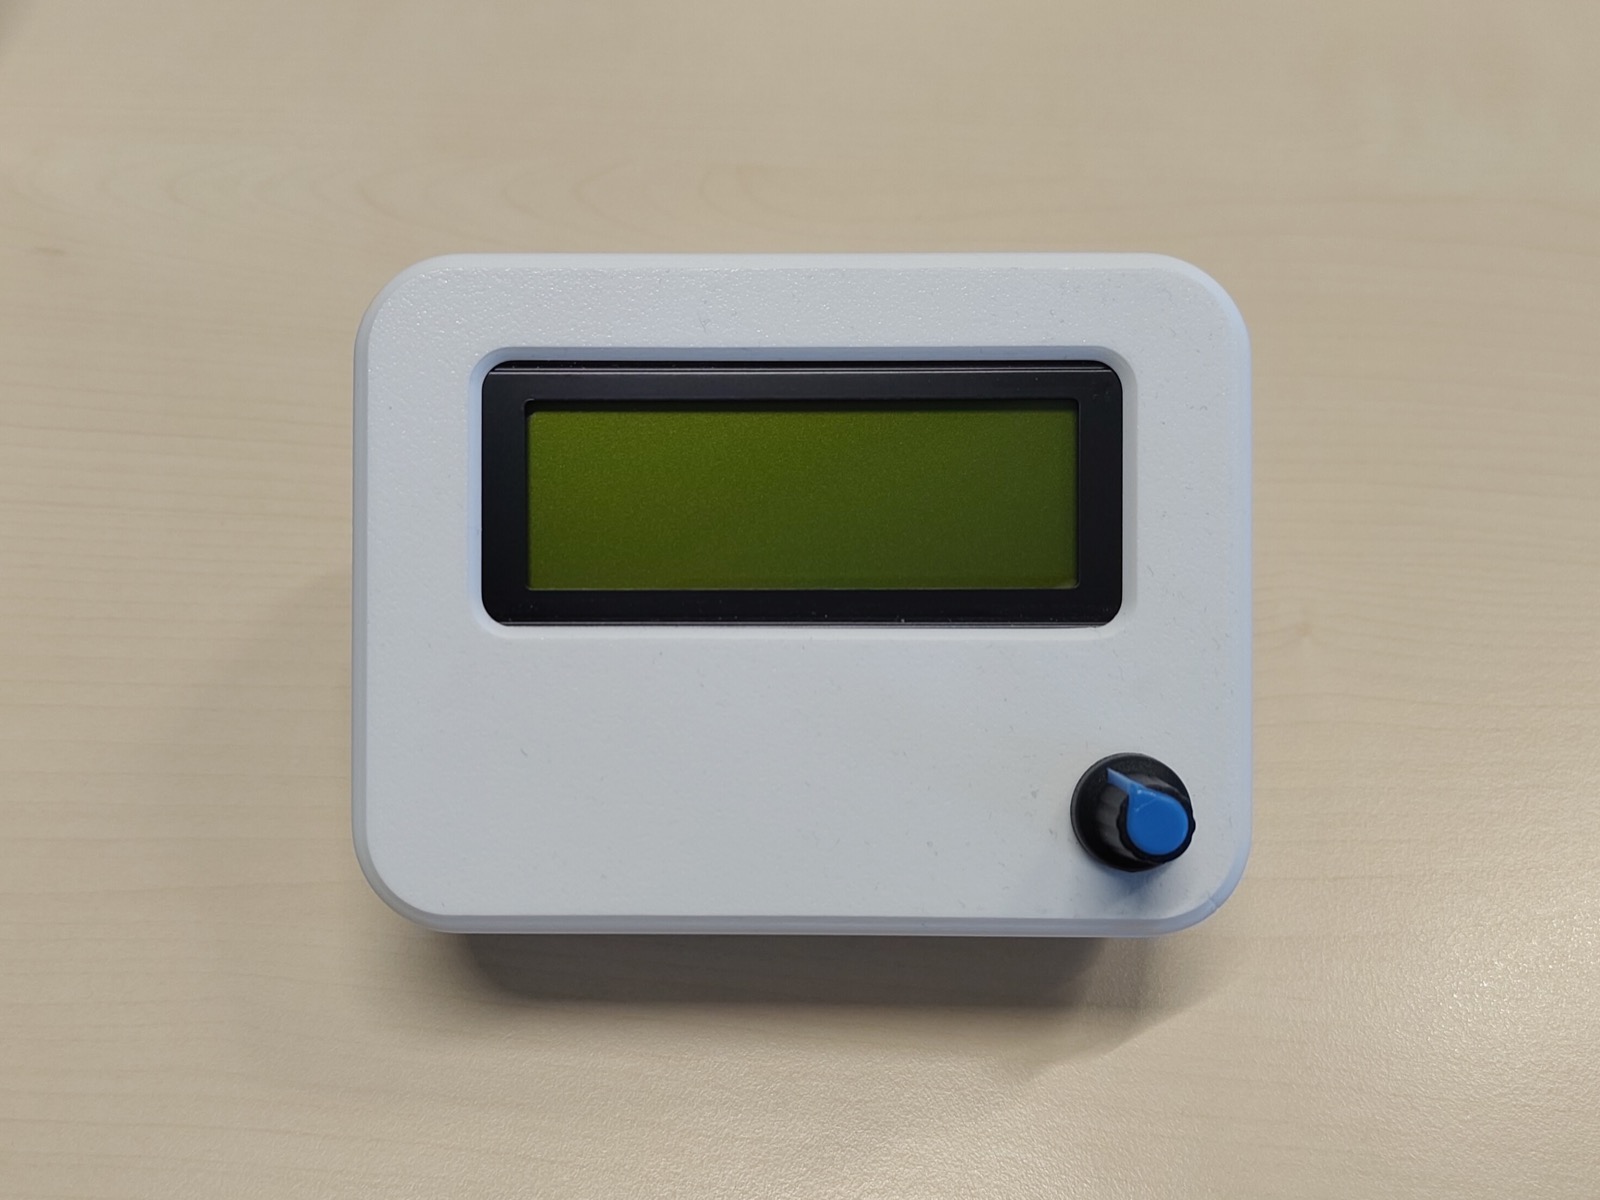
The end result: a standalone ESP32 control unit, hacked Sonoff Basic R4 smart plugs running custom ESP-NOW firmware, local data logging, a physical LCD with rotary encoder, and a web UI concept.

This case study covers the process: research with breeders, hardware decisions, firmware iterations, perfboard assembly, product housing, brand identity and interface design.

User researchESP32 firmwareProduct designUI style guide
Finished BudgieBase prototype on a desk
Central Unit
ESP32 · DS3231 RTC · BME280 sensor
20×4 LCD · rotary encoder · microSD
ESP-NOW
Smart Plugs
Sonoff Basic R4 · custom firmware
Peer-to-peer · no internet needed

Each step narrowed what to build.

Every assumption got tested against what breeders actually needed, what existing tools couldn't do, and what an aviary building allows.
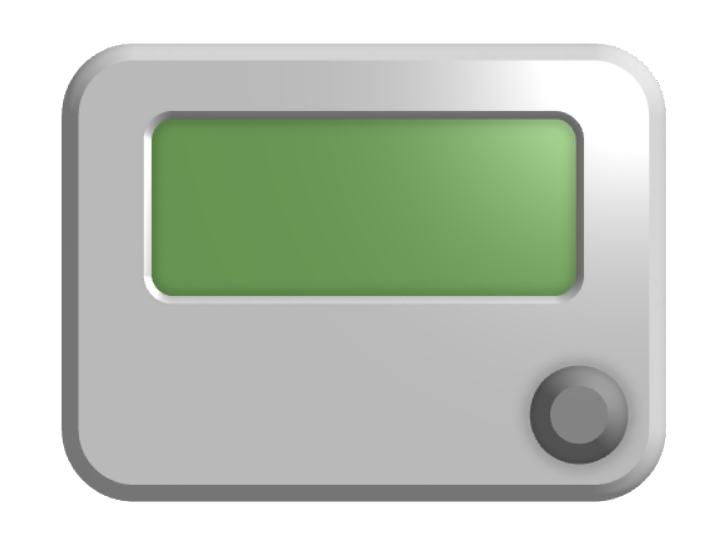
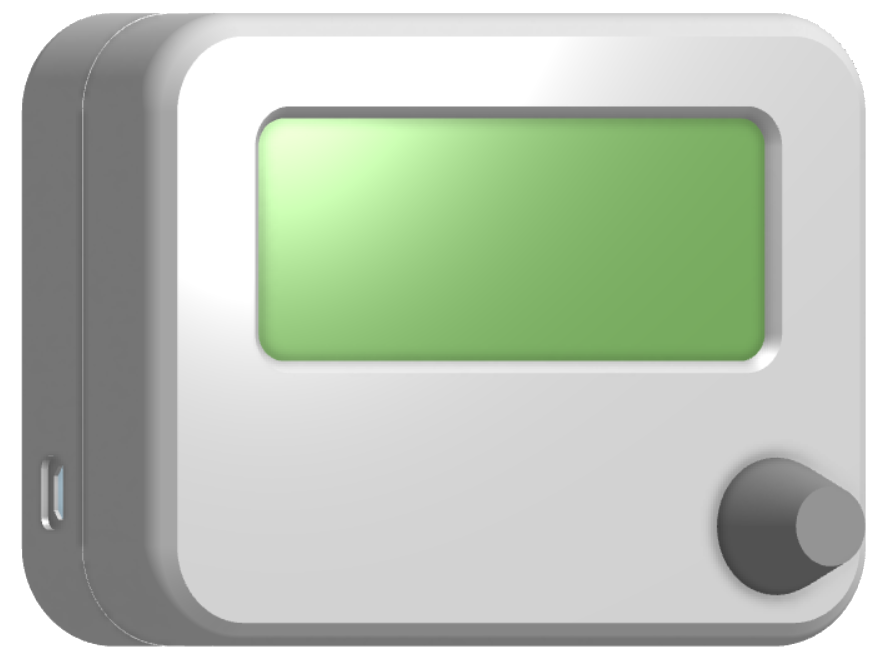
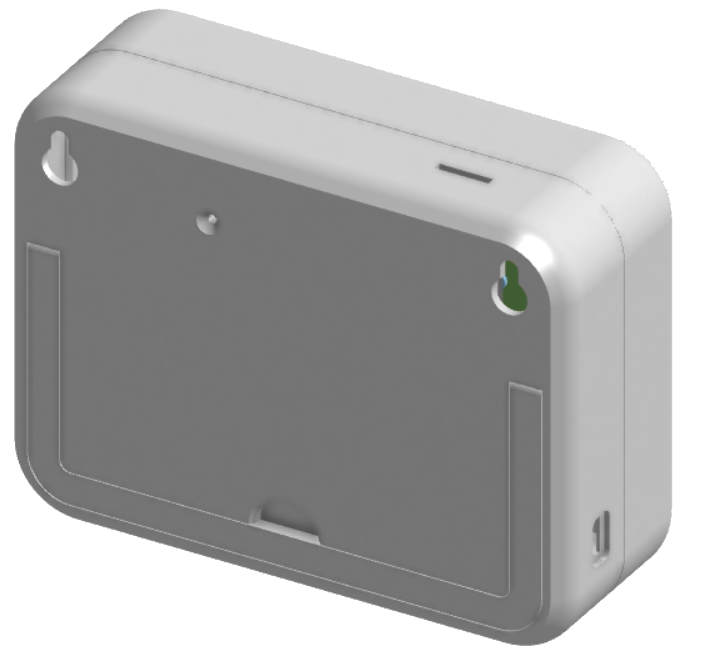
Choose the audience
The focus narrowed to hobbyist budgerigar breeders, because they were reachable, had a real aviary context and could give practical feedback quickly.
Map the environment
Interviews and aviary management research pointed to lighting, air quality, temperature, humidity and breeding rhythm as the things worth designing around.
Reject the wrong tools
Home Assistant and commercial smart home systems were too complex, too internet dependent or too expensive for this specific audience.
Set product goals
I landed on a hybrid: physical controls on the device for reliability, plus a lightweight web interface for monitoring and configuration.

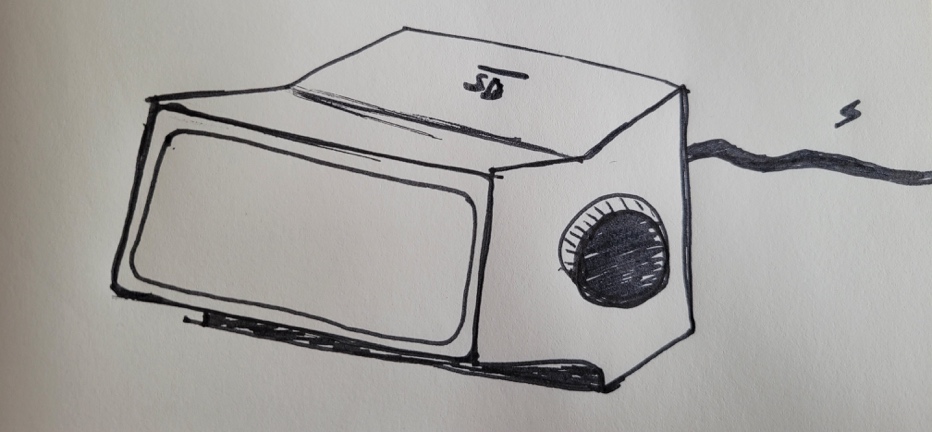
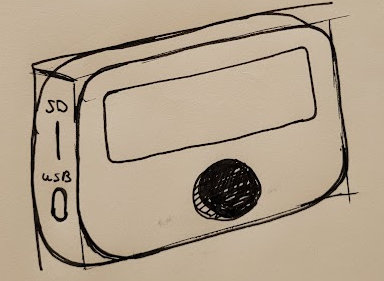
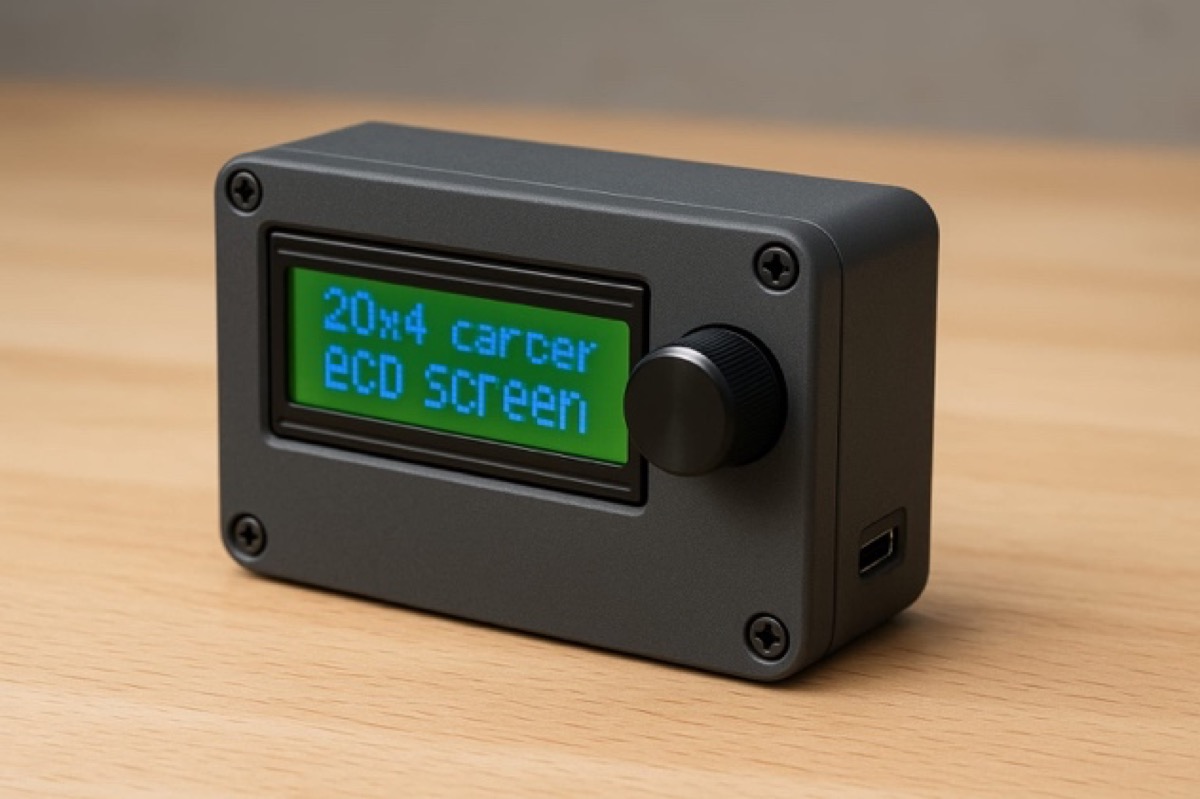
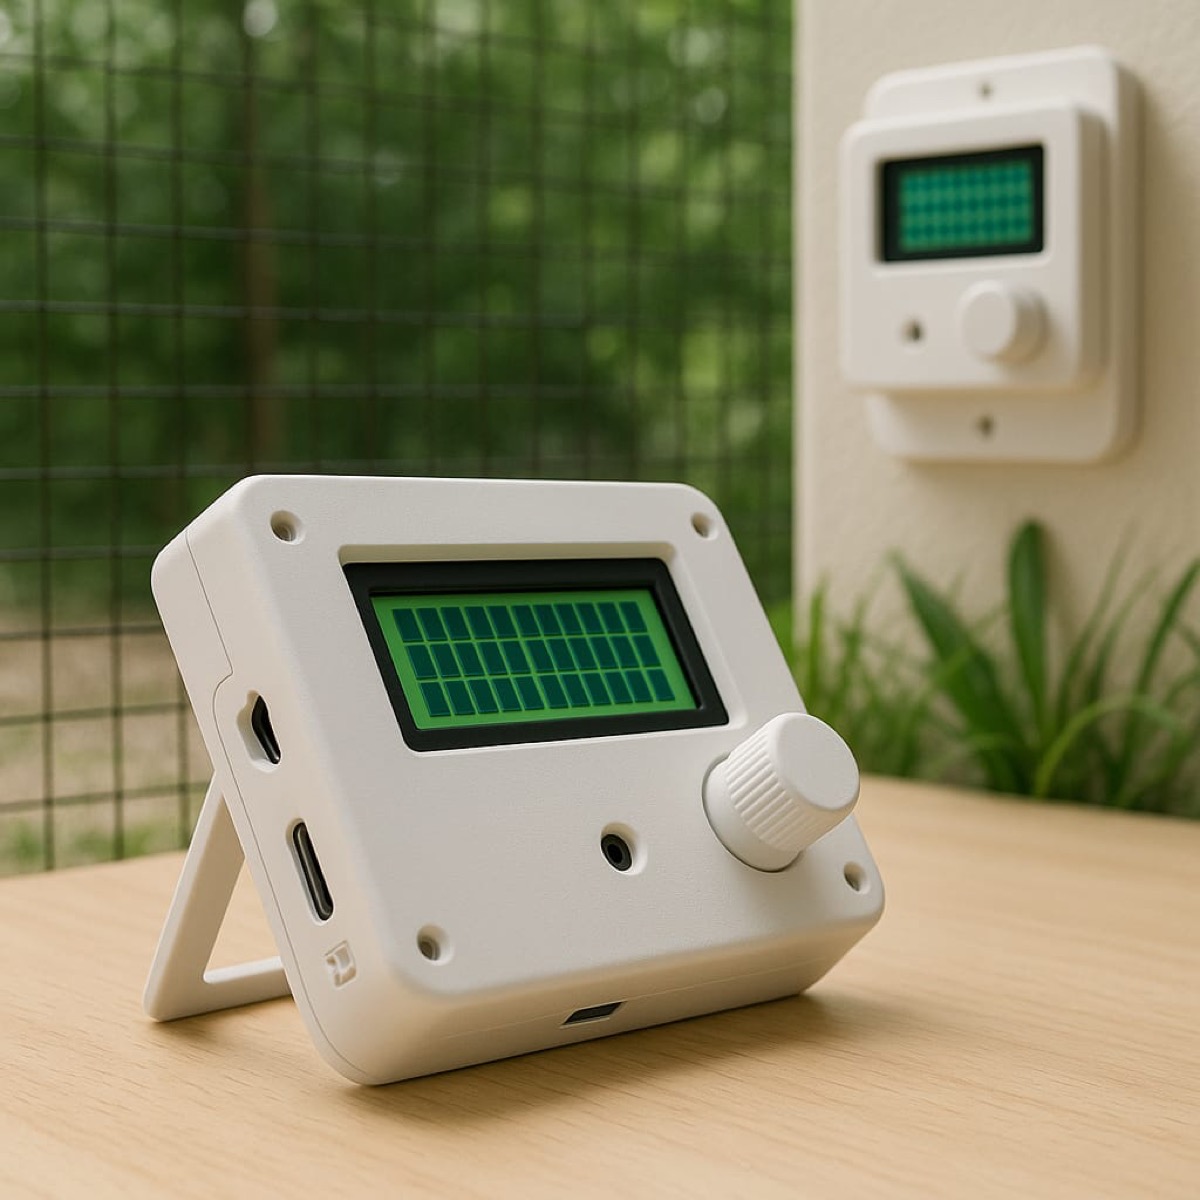
From sketches and renders to an Onshape enclosure.

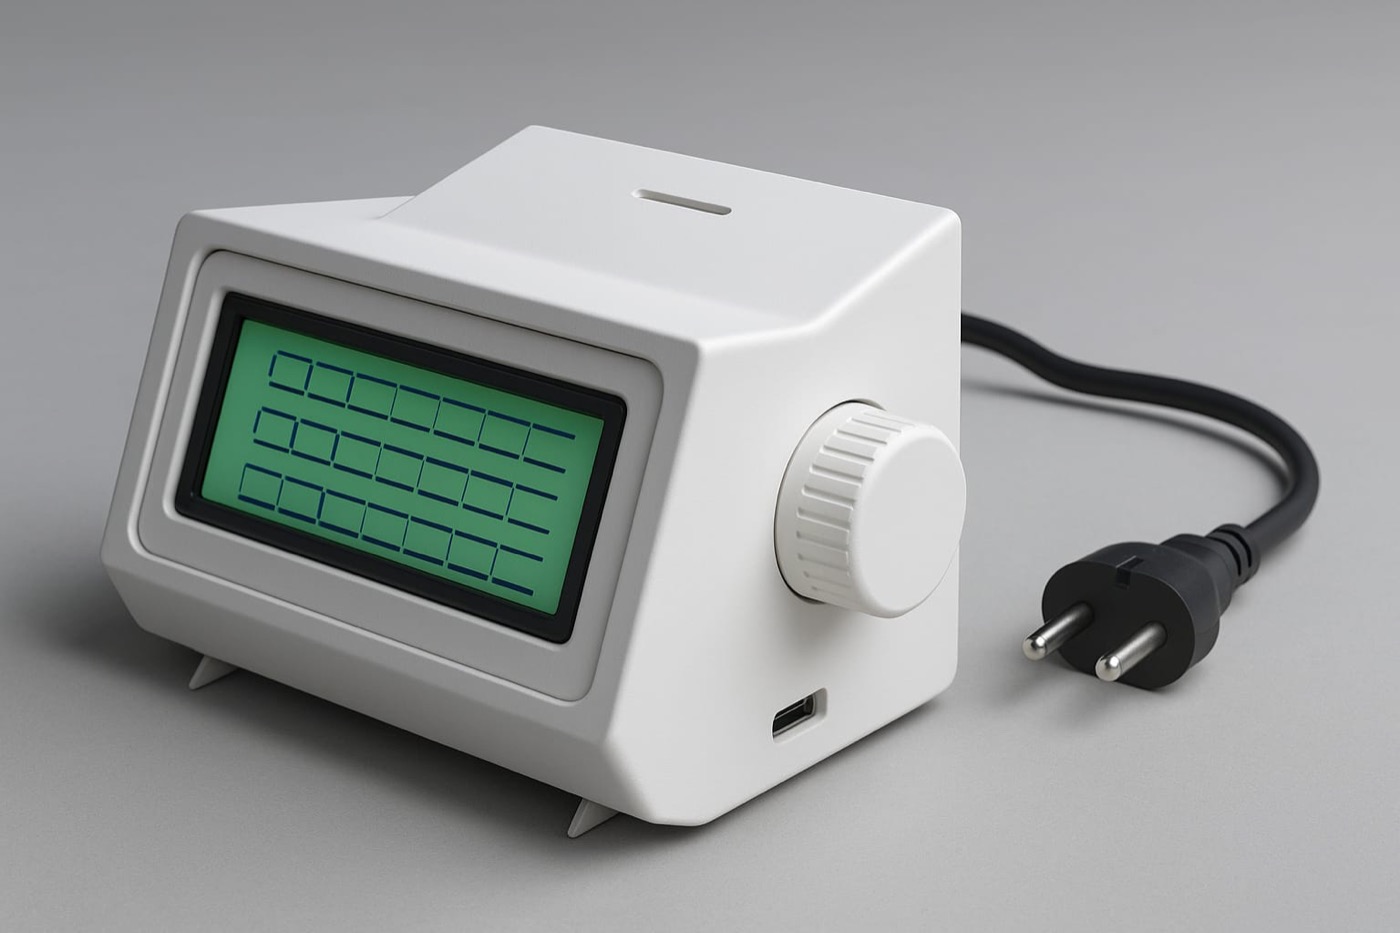
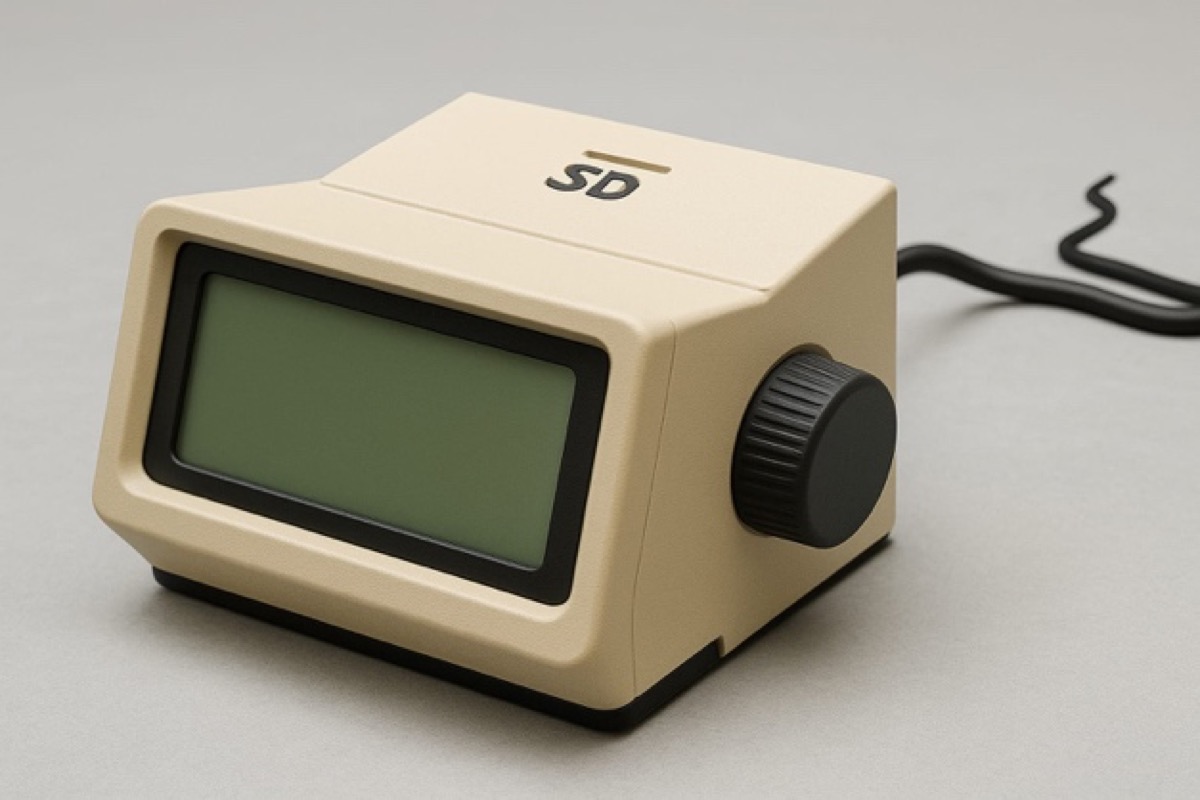
Two directions emerged from sketching and AI renders: a Braun-inspired form with more visual weight and character, and a minimal single-block design. I had a clear personal preference for the Braun direction — but every round of feedback pointed toward the simplest option.
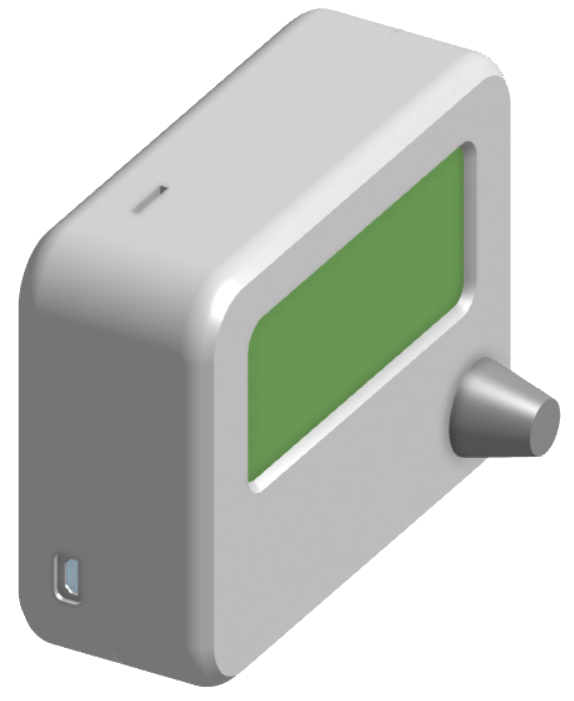
BudgieBase housing Onshape isometric view
Braun-inspired direction

My personal favourite — cleaner references, stronger visual character. Feedback from testers and people around me consistently pointed away from it.

Early Braun-inspired BudgieBase housing sketch
Angled sketch
Braun-inspired AI housing render
AI render
Cream Braun-inspired BudgieBase render
Cream concept
Concepts
Front-facing BudgieBase housing sketch
Front sketch
Dark compact BudgieBase render
Compact concept
Final version
BudgieBase render mounted on an aviary wall
Aviary render
BudgieBase housing Onshape front view
Front view
BudgieBase housing Onshape side view
Side view
Rear view of BudgieBase housing
Rear details
Readable LCD
20×4 display chosen for a rugged, low-cost physical interface
Single control
Rotary encoder keeps setup tactile and understandable
Freestanding use
Kickstand direction came from testing how the unit would sit on a workbench
Wall mounting
Rear panel keeps the option open for permanent placement in an aviary room
Serviceable power
USB power and accessible ports support prototype iteration and repair
Rebuildable body
Two-part PLA construction keeps the prototype easy to open and improve

Technical specifications

Everything was chosen to keep it reliable, repairable and independent of the internet. Standard components, open firmware, nothing that needs a server somewhere.

Central unit
MicrocontrollerESP32
Display20×4 character LCD
InputRotary encoder + push button
ClockRTC module (DS3231)
StorageMicroSD card (event log)
PowerMicro-USB 5 V
Housing3D-printed PLA — Onshape
Wireless & sensors
ProtocolESP-NOW (peer-to-peer)
Range~200 m open air
Internet neededNo
SensorBME280
MeasuresTemperature · Humidity · Pressure
Trigger typesTime schedule · Sensor threshold
Smart plugs
Base hardwareSonoff Basic R4
ModificationCustom ESP-NOW firmware
Max load10 A / 2300 W
PairingVia central device UI
App requiredNo

Six phases, from research to branding.

The project was not a straight line. Each step made the next decision more concrete: who it was for, what had to work offline, how the plugs should talk to each other, and what the product should look like.
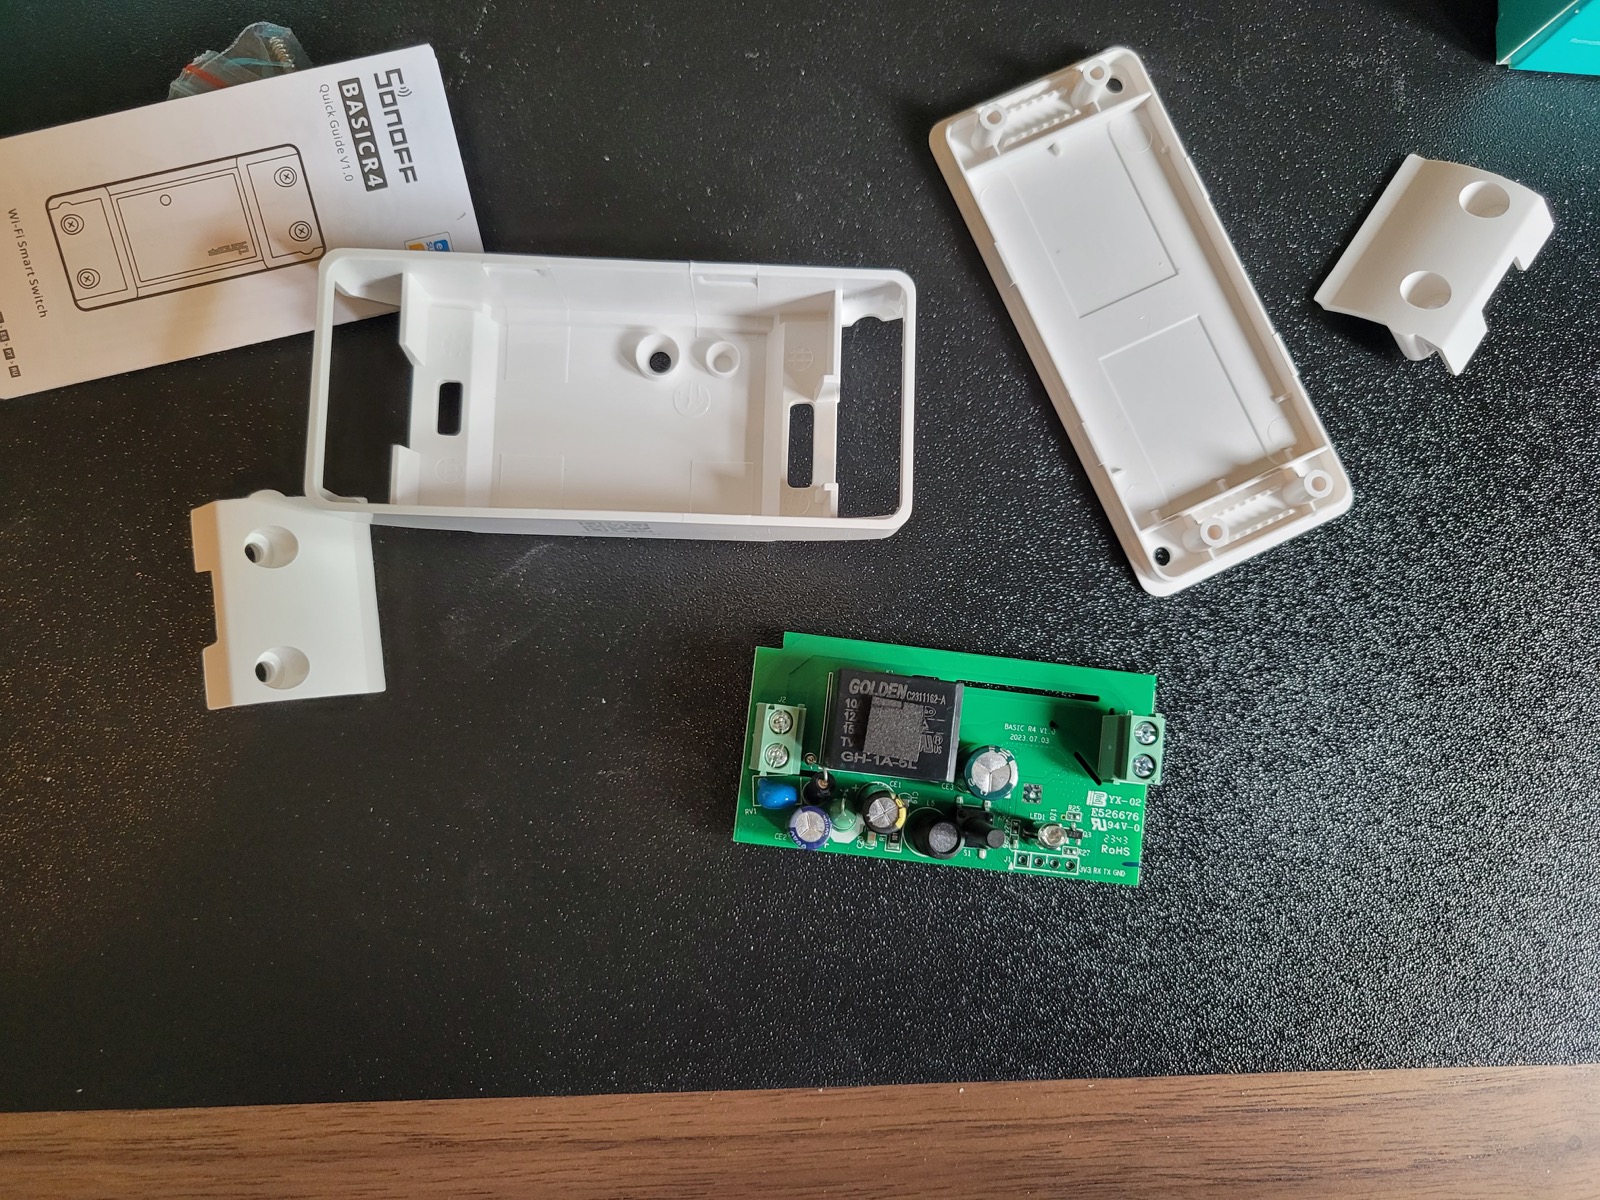
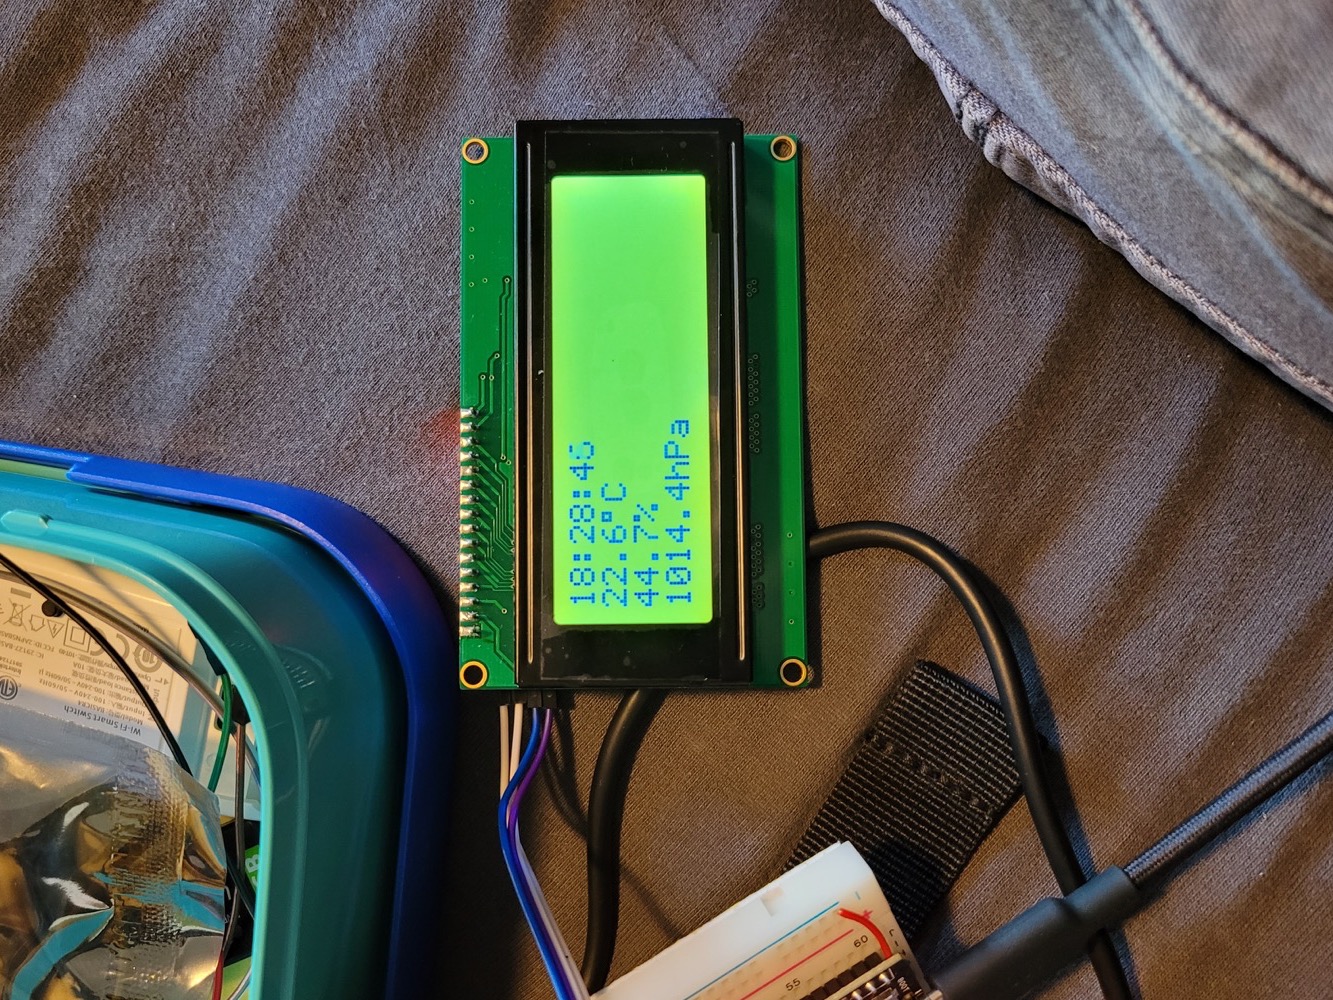
Phase 1
User and market research
Interviews and source research clarified what matters in aviary management: lighting, temperature, humidity, air quality and breeding-cycle control. Existing home automation options were then compared against those needs.
Phase 2
Architecture decisions
ESP32, a DS3231 RTC, BME280 sensor, SD logging and a 20×4 character LCD were chosen because the system needed to be local, understandable and resilient after power loss.
Phase 3
Wireless plug control
Sonoff Basic R4 plugs were opened, flashed and tested with custom ESP-NOW firmware, cutting out the cloud entirely and talking directly to the central unit.
Opened Sonoff Basic R4 showing internal PCB
Phase 4
Firmware and UI iteration
The central unit grew from clock and sensor experiments into menu navigation, plug pairing, EEPROM persistence, schedule logic, sensor thresholds and SD-card data logging.
ESP32 prototype showing LCD with temperature, humidity and time
Phase 5
Assembly and testing
The breadboard prototype moved to perfboard so it could fit inside the housing. End-to-end testing covered pairing, naming, control types, relay switching and settings surviving a power cycle.
Finished BudgieBase prototype on a desk
Phase 6
Brand and interface design
The brand guide, housing design and web UI style guide gave the hardware prototype a visual identity that a non-technical audience could actually connect with.

Real hardware, not just diagrams.

Three snapshots from the build: the first LCD and sensor test, the Sonoff teardown, and the finished perfboard prototype.

ESP32 prototype on a breadboard showing the LCD with temperature, humidity and time
First LCD and sensor test
Opened Sonoff Basic R4 smart plug showing internal PCB and serial pins
Sonoff Basic R4 teardown
Finished BudgieBase prototype on a desk
Finished prototype

The supporting design work.

Two standalone HTML files document the visual design: the brand guide and the web UI style guide.